7 Waxing Mistakes That Waste Your Time and Your Wax
Waxed for two hours and still not happy with the result? A wrong waxing process gives close to zero protection. Here are seven mistakes to break up with, and the fix for each.
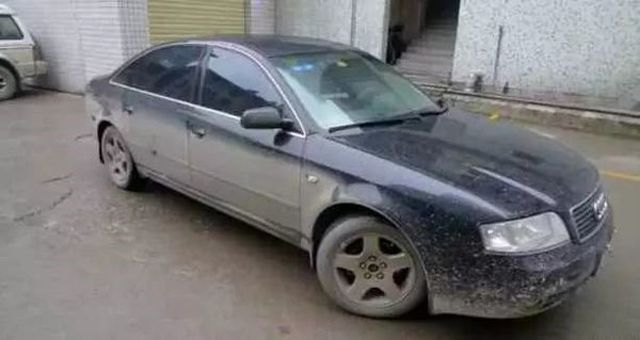
Getting up early on a day off to properly wash the car, remove iron powder and dry it — only to realize you forgot how to wax it correctly — is a familiar feeling. A wrong waxing process gives close to zero protection for the paint. Here are seven waxing mistakes worth breaking up with.
NG.1 — Waxing without washing first
If dust on the body hasn't been rinsed off thoroughly, it doesn't just hurt the waxing result — it can scratch the paint.
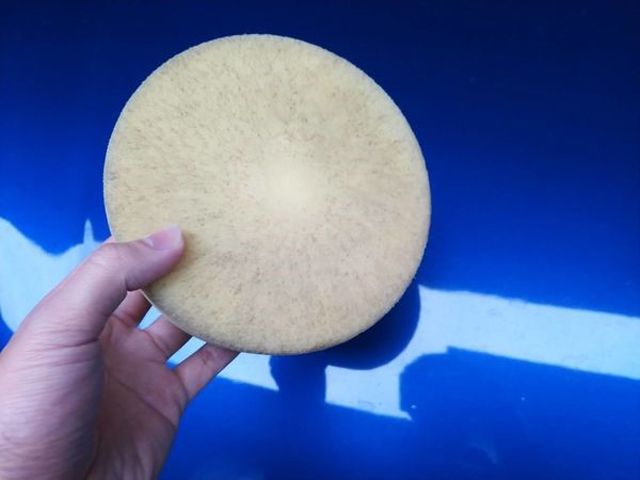
Fix: Use a clay tool to remove excess iron powder after a thorough wash. Once the car is dry, prepare a high-density wax applicator and a proper wax-off cloth before you start.
NG.2 — Waxing under direct sun
Wax applied in direct sun solidifies into a thin film almost immediately, which tends to leave wax shadows on the paint and makes application harder work. Waxing in strong wind or roadside dust also lets grit stick to the wax — you end up dragging sandpaper across the paint without meaning to.
Fix: Choose a shaded spot, or wax in the evening when there's less dust around.
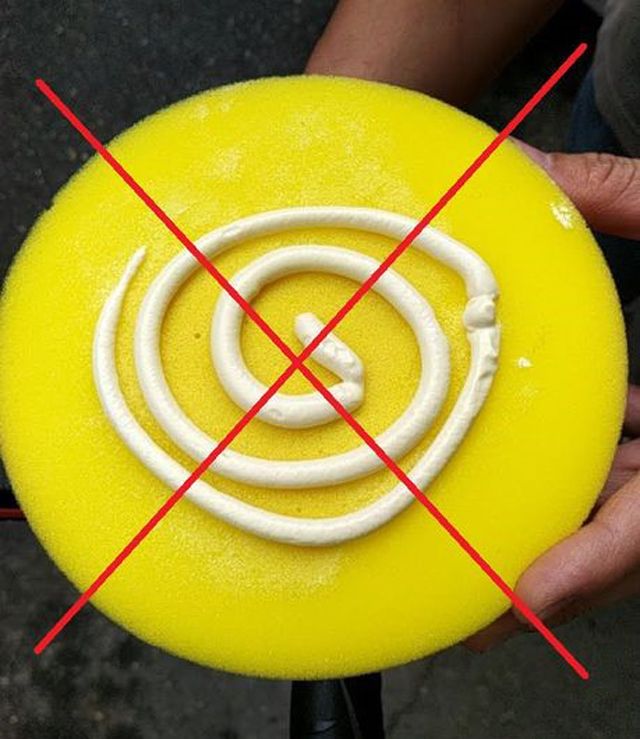
NG.3 — Applying too thick a layer
Excess wax just makes it harder to buff off, wastes product, and can leave wax shadows on the paint.
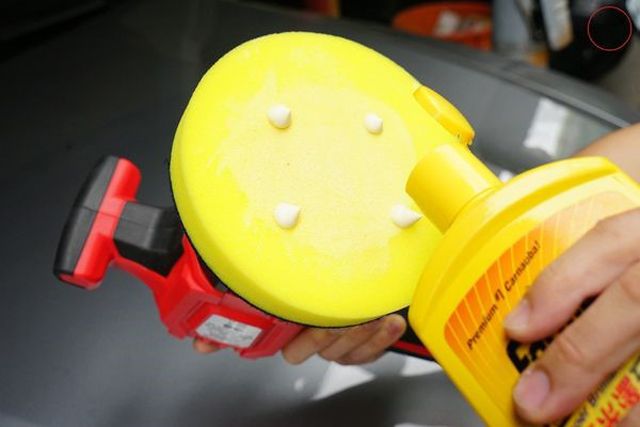
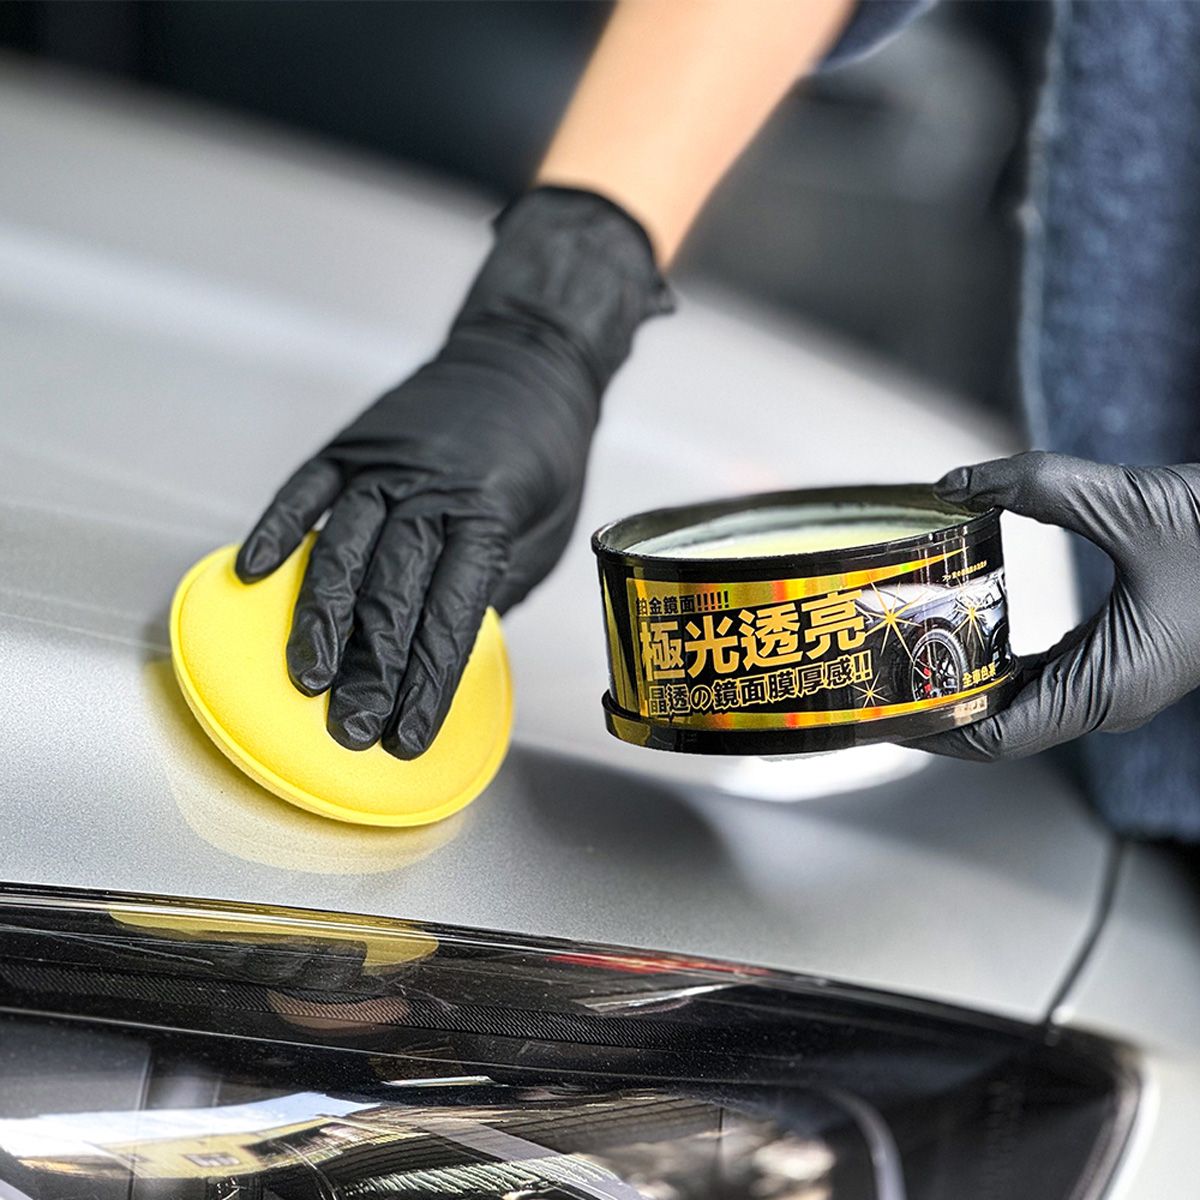
Fix: A few small dots of wax on the applicator, spread across many small panels, uses less product and avoids the difficulty that comes with over-application.
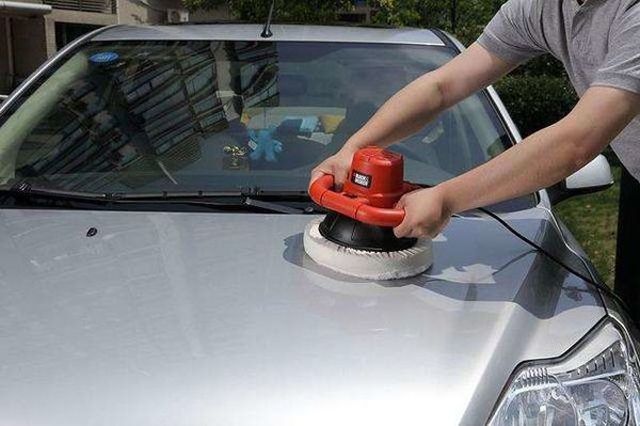
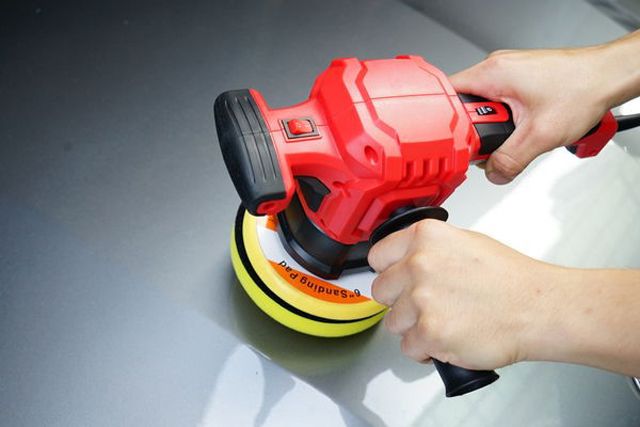
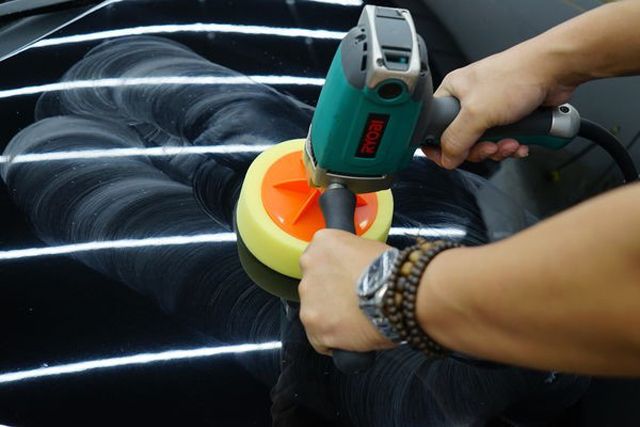
NG.4 — Relying entirely on a machine for wax-on and wax-off
Machines are typically reserved for cutting or polishing. Using one for straightforward wax-on/wax-off, at high speed or with the wrong pad, risks unpredictable paint damage.
Fix: For an easy-to-use wax, hand application in the direction of travel works well — it protects the paint and helps you get to know your car better.
NG.5 — Applying wax only in circular motions
Waxing in loose circles or scribbles on the body panel tends to produce uneven marks. It also requires waiting for the wax to fully solidify before wiping it off.
Fix: Apply in straight lines, following the car's direction of travel — it reduces marking and lets rain run off along the same lines the wax was applied in. Don't rush the wipe-off to save time either; buffing too soon wastes product without giving a noticeably better result.
NG.6 — Getting wax on unpainted surfaces
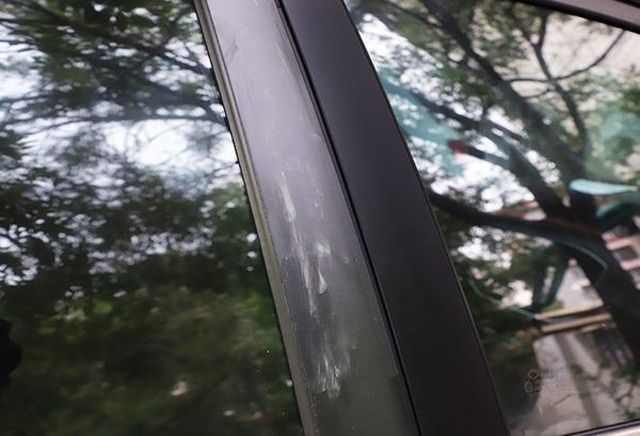
Skipping this precaution can leave white spots on plastic trim, hazy headlights, and an oily film on the windshield and wiper blades that won't wipe clean.
Fix: Avoid wiper blades, plastic trim, the windshield and headlight housings when waxing. None of these surfaces benefit from wax, and all of them can end up hazy or filmed over. Working in small sections helps keep the wax off unintended parts of the car.
NG.7 — Not cleaning the applicator and cloth after waxing
If the wax sponge and wax-off cloth aren't cleaned right after use, the leftover wax solidifies and becomes hard to remove — and any dust or grit trapped inside can scratch the paint the next time you use them.
Fix: Soak the applicator and cloth in diluted detergent and scrub them clean so the residual wax dissolves out.