How Do You Clean Your Detailing Tools After a Wax Job?
Wax and polish leave an oily film that shampoo cannot break down. Here is how a wax remover restores sponges, pads and mitts to a clean, soft state.
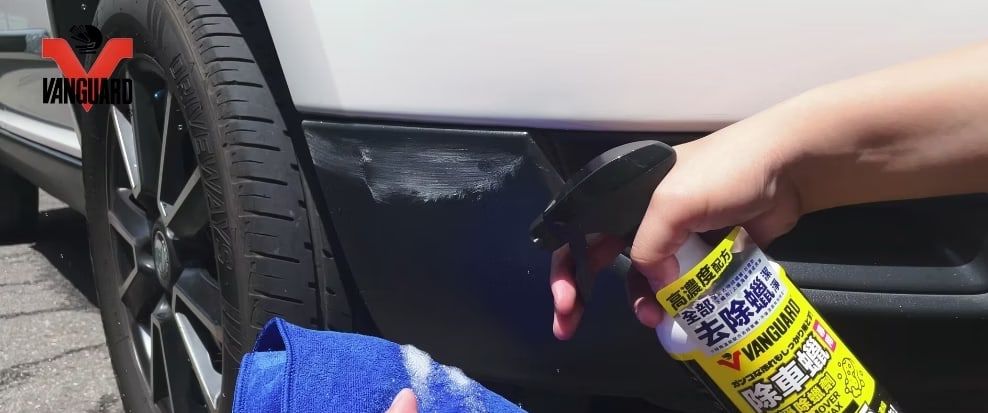
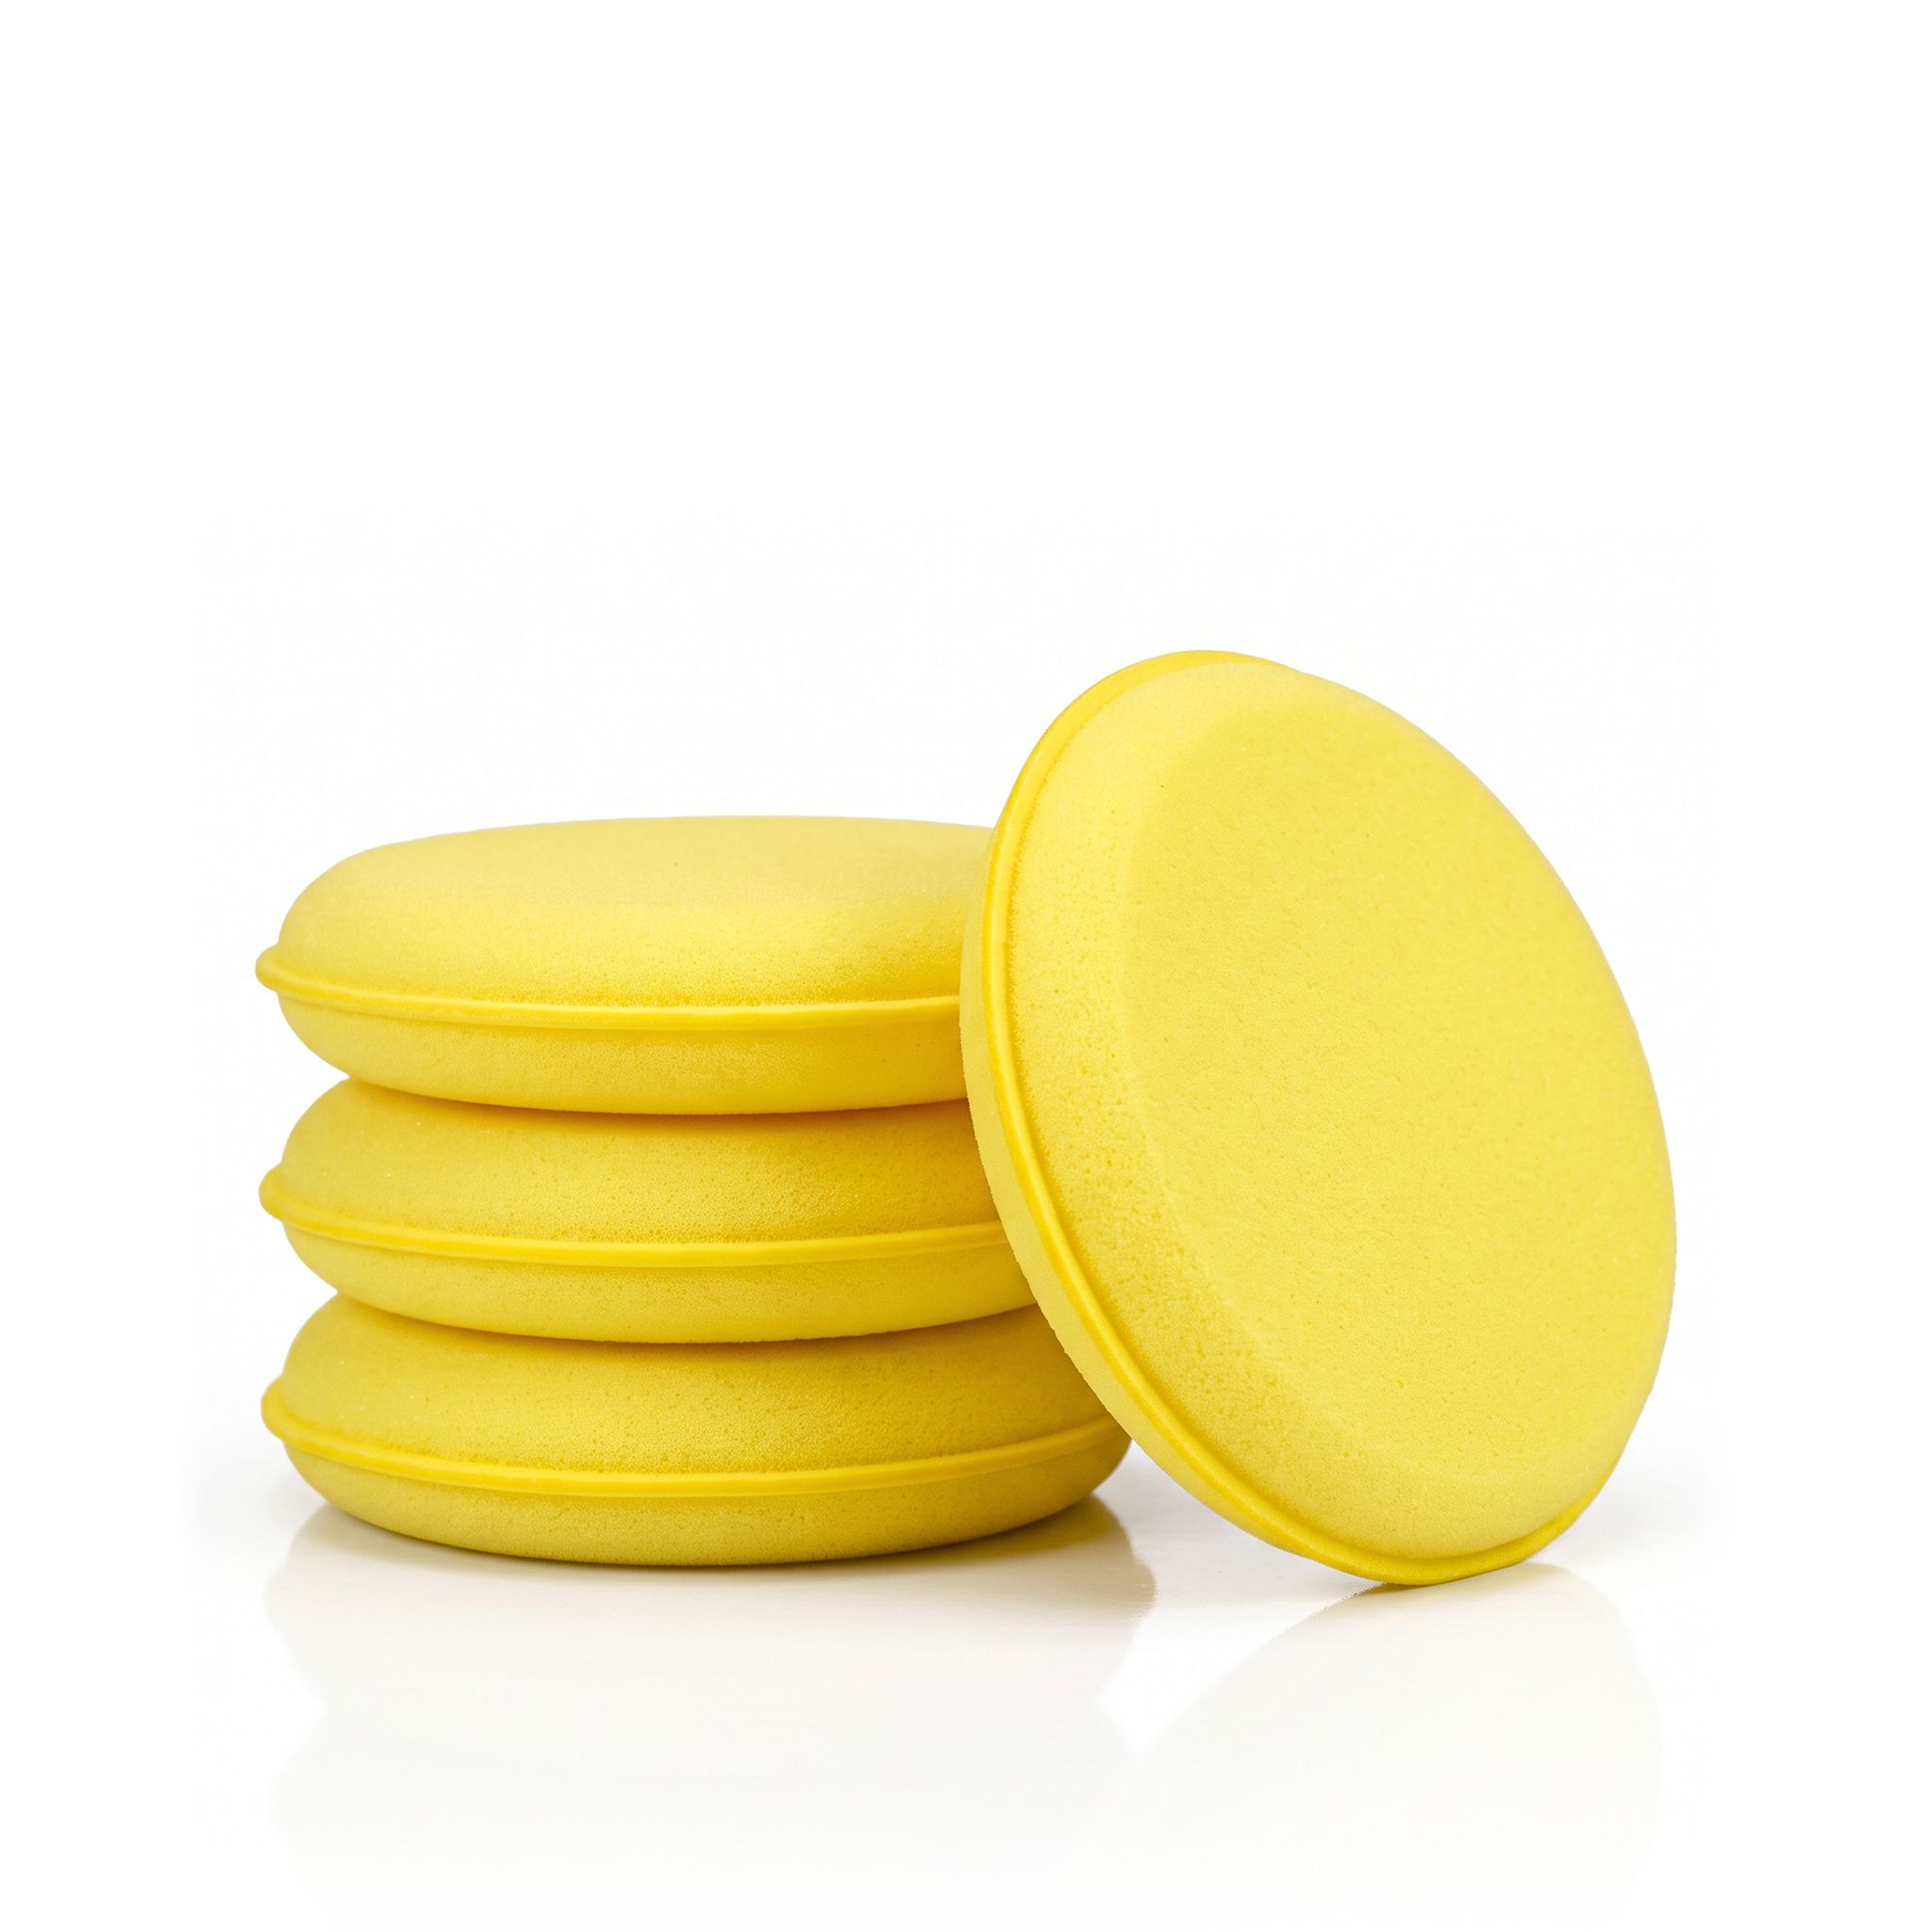
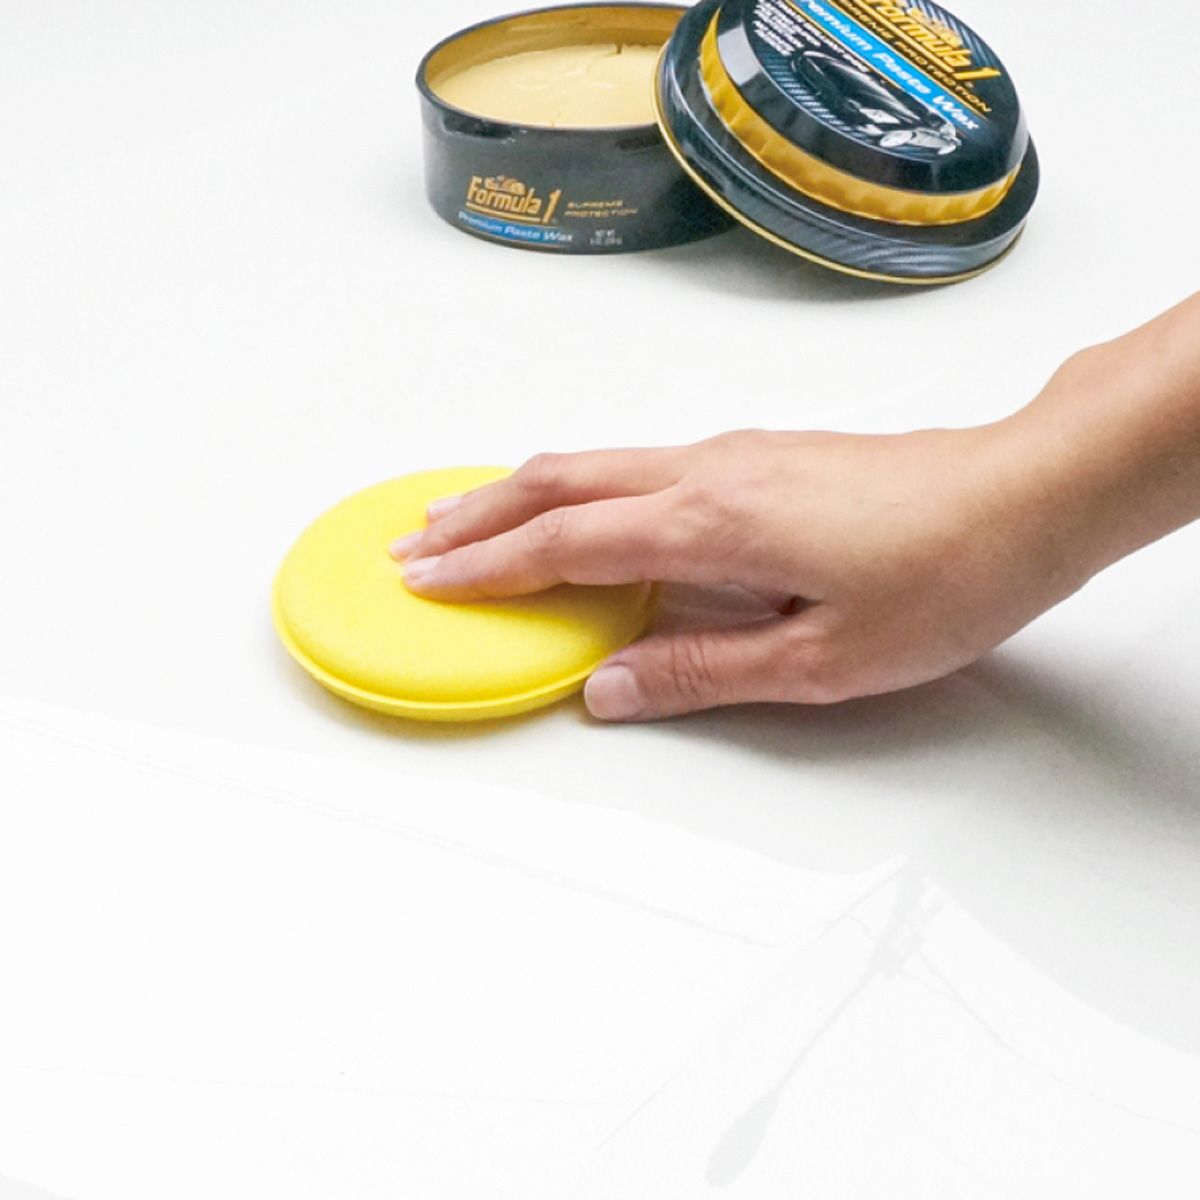
Detailing tools should be cleaned with a dedicated wax remover rather than car shampoo alone. Wax, polish and trim products leave behind an oily film that ordinary washing cannot break down, and that film is what leaves applicators feeling greasy and hardened. A wax remover dissolves the grease so the tools rinse clean and stay soft for the next job.
Why doesn't car shampoo clean waxing tools?
Shampoo is formulated to lift dust and road film, not the oils in a wax or a dressing. After a few sessions those oils build up in the pores of a sponge or the fibres of a pad, and no amount of rinsing gets them out. That is when tools start to feel rough and hardened.
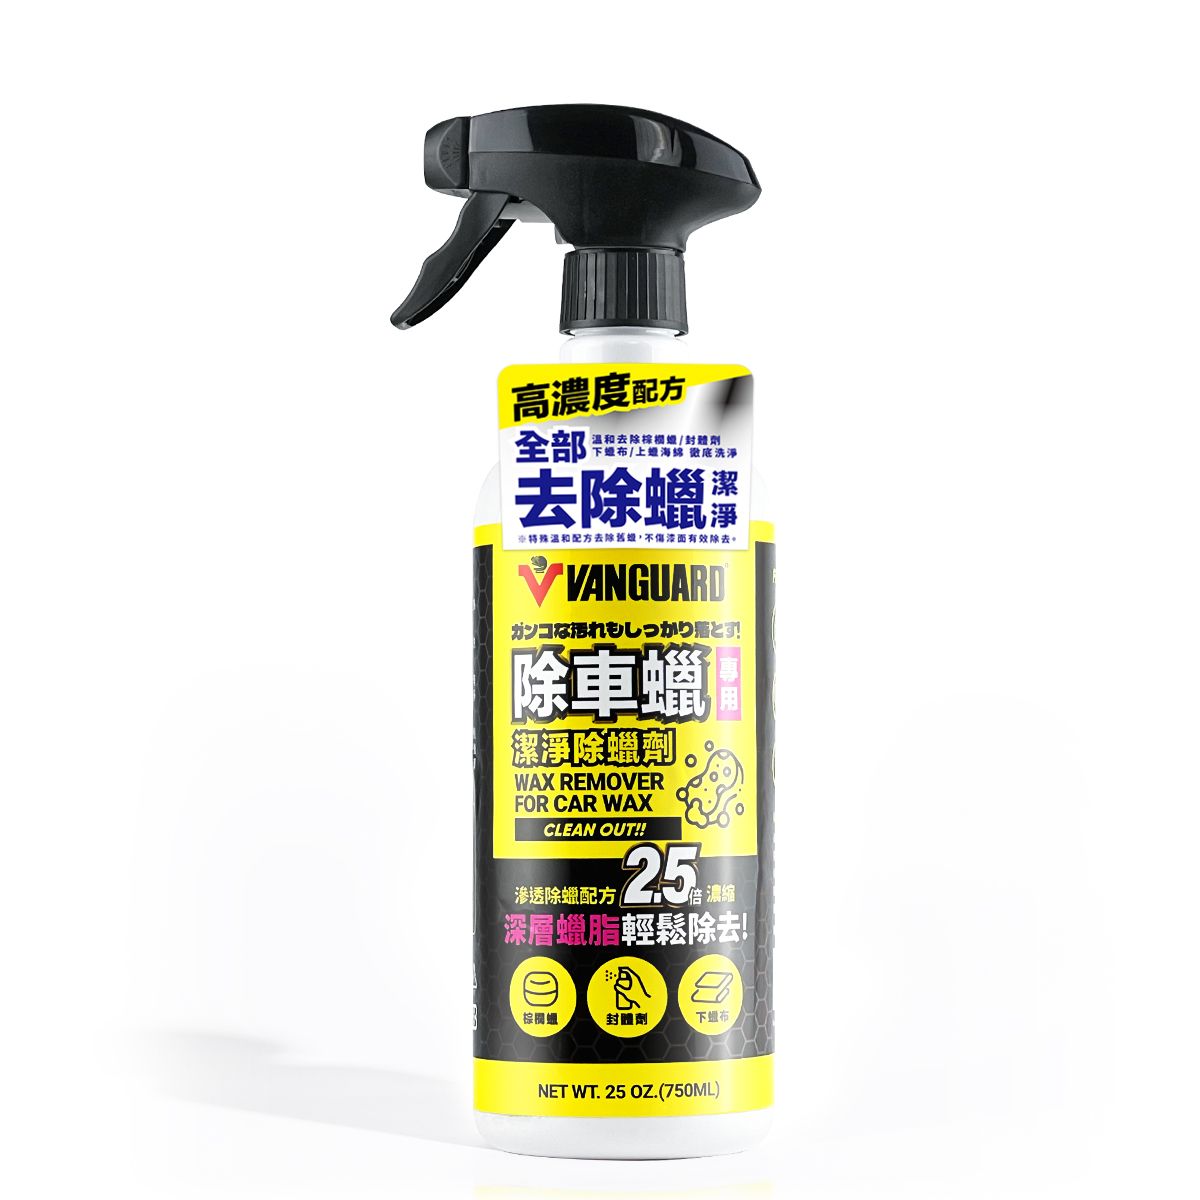
A wax remover uses a deep-cleaning de-waxing formula that goes after the grease directly. It is the difference between a tool that only looks clean on the surface and one that is genuinely reset.
How do you clean a tool with wax remover?
The quickest method is direct application, and it works well on the tools carrying the heaviest load of product:
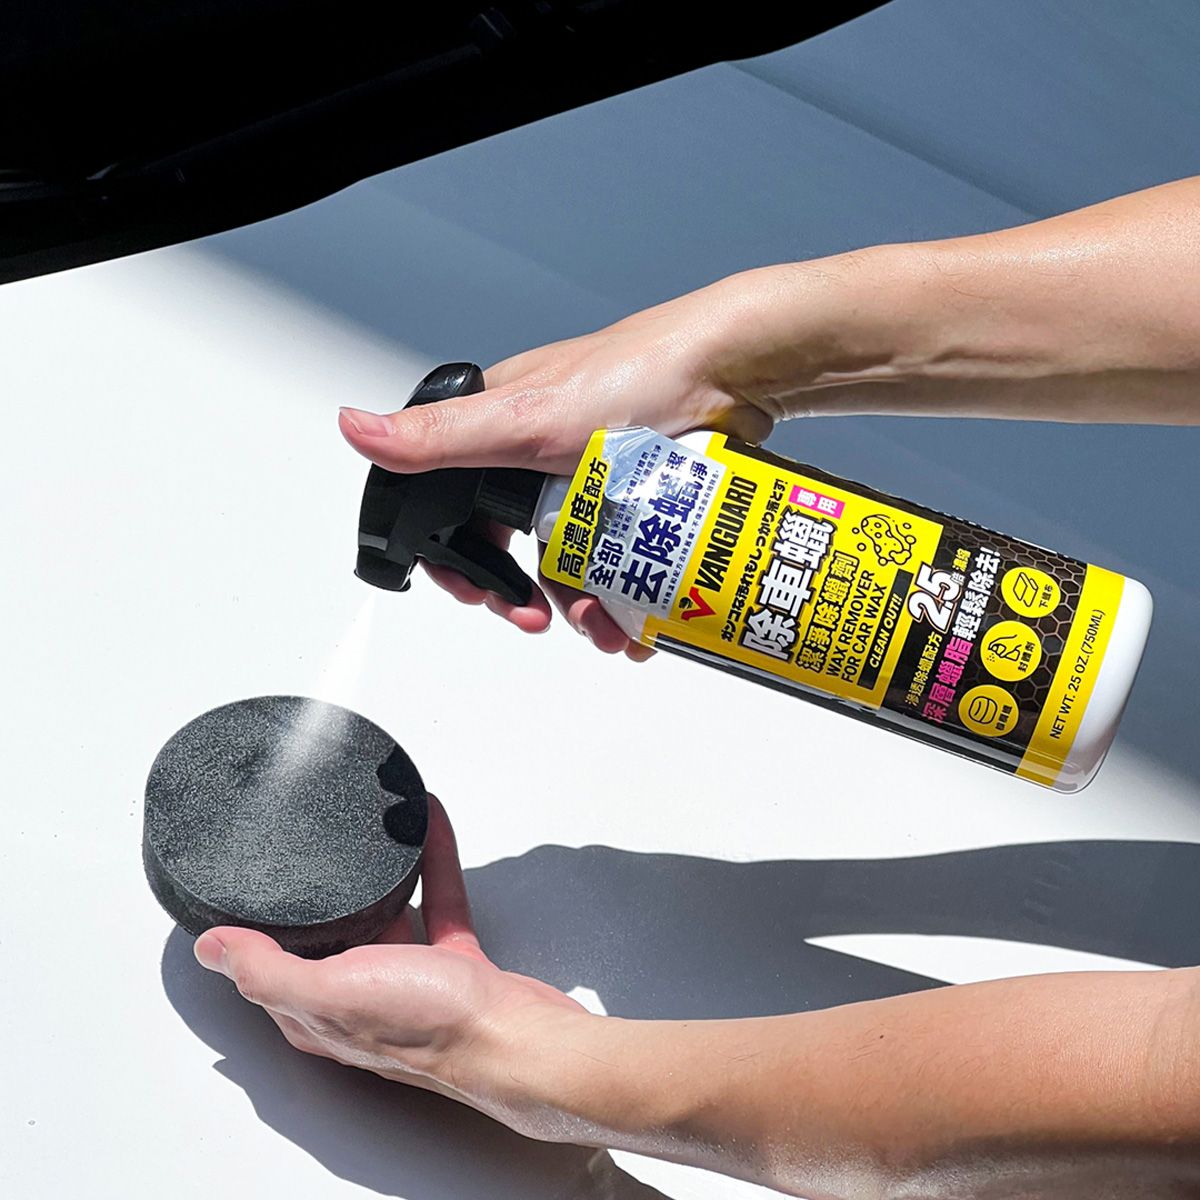
- Spray the wax remover directly onto the surface of the tool.
- Knead and squeeze the tool gently so the product works through it. This breaks down the grease.
- Work over the whole tool so nothing is missed.
- Rinse thoroughly with water to carry away both the grease and the product itself.
Can you use a wax remover as part of the wash?
Yes. If you want a new paint-care product to perform at its best, the surface underneath has to be genuinely clean, and so do the tools you apply it with.
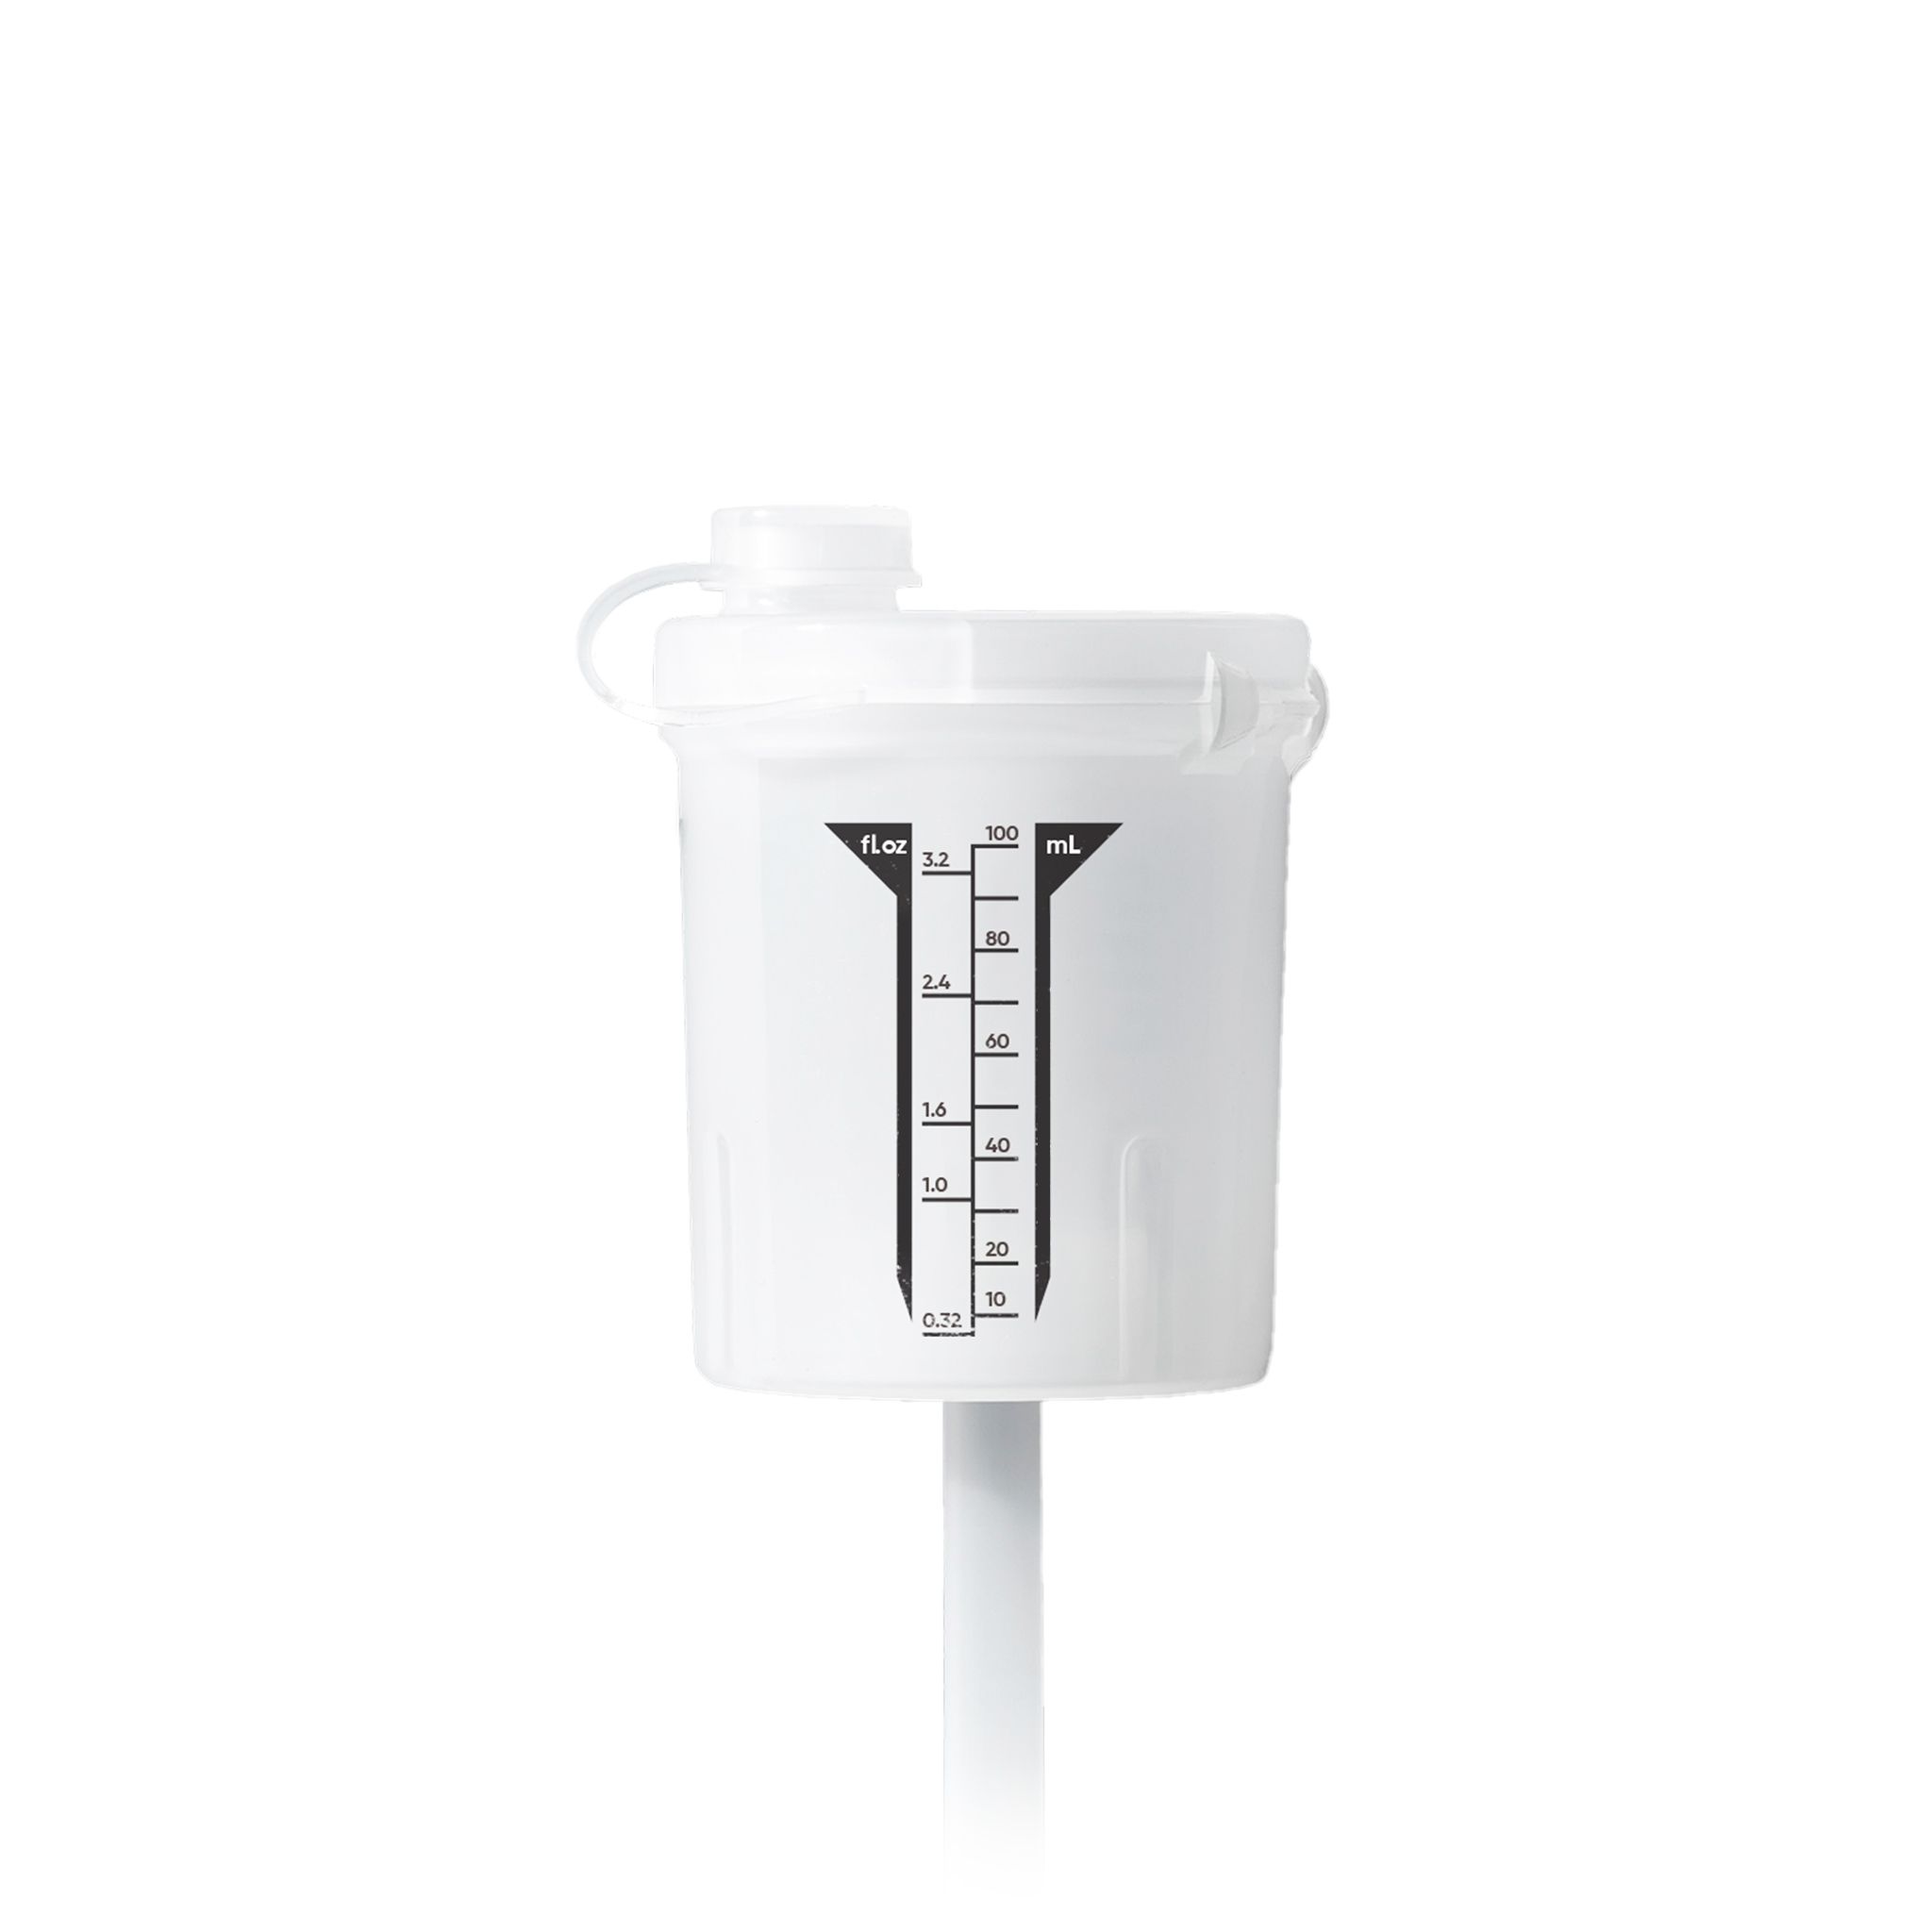
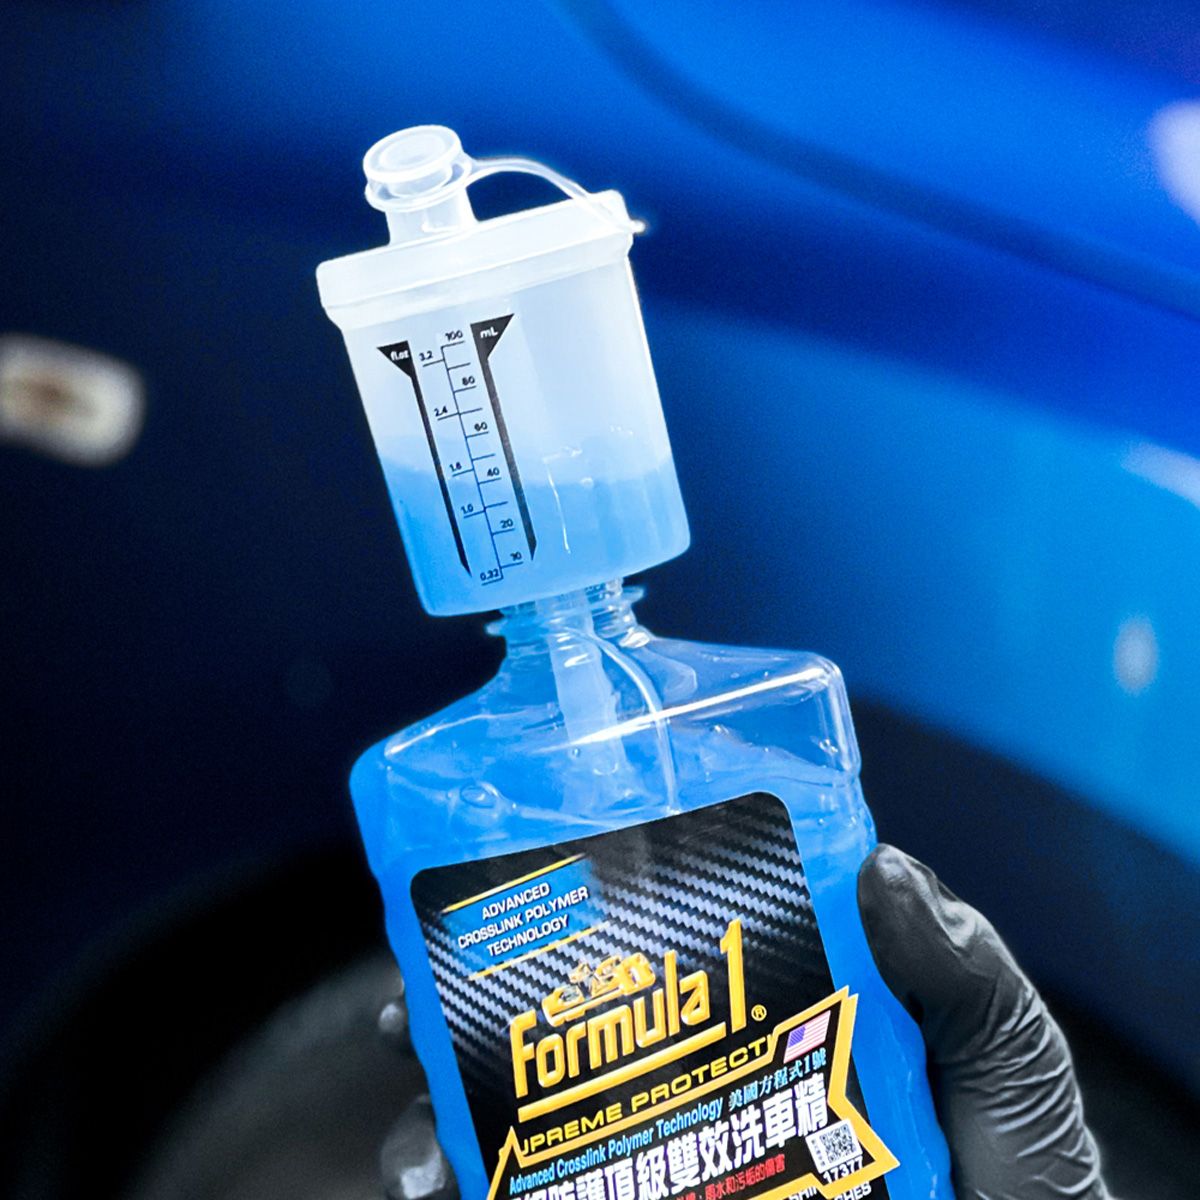
Dilute the wax remover at roughly one part product to ten parts water. Use it after the car has been washed, or after a cleaner wax step, and work with your tools the same way you would when washing the car. It removes the oily residue that a normal wash leaves behind. On heavier deposits you can also spray it neat for a stronger effect. Once you are finished, rinse everything off with clean water.
How do you remove wax residue from plastic trim and headlights?
Stray wax on unpainted plastic or on a headlight lens is easy to fix. Spray the wax remover onto a cloth or a brush rather than onto the panel, then wipe the affected area. This lifts the residue effectively without disturbing the sections you have already waxed. Finish by wiping the area with a clean, damp cloth.
This is worth doing promptly. Applying a wax to plastic trim without knowing whether the formula suits it, and then leaving that residue in place, can accelerate the ageing of the plastic. Once the residue is cleaned off, you can go back and apply the appropriate trim product.
What is the soaking method for a full set of tools?
After a full detail you usually end up with a pile of consumables to clean at once. Soaking handles the whole set in one go and saves a lot of time.
- Spray the greasiest tools neat first, to knock down the bulk of the oil before they go into the bucket.
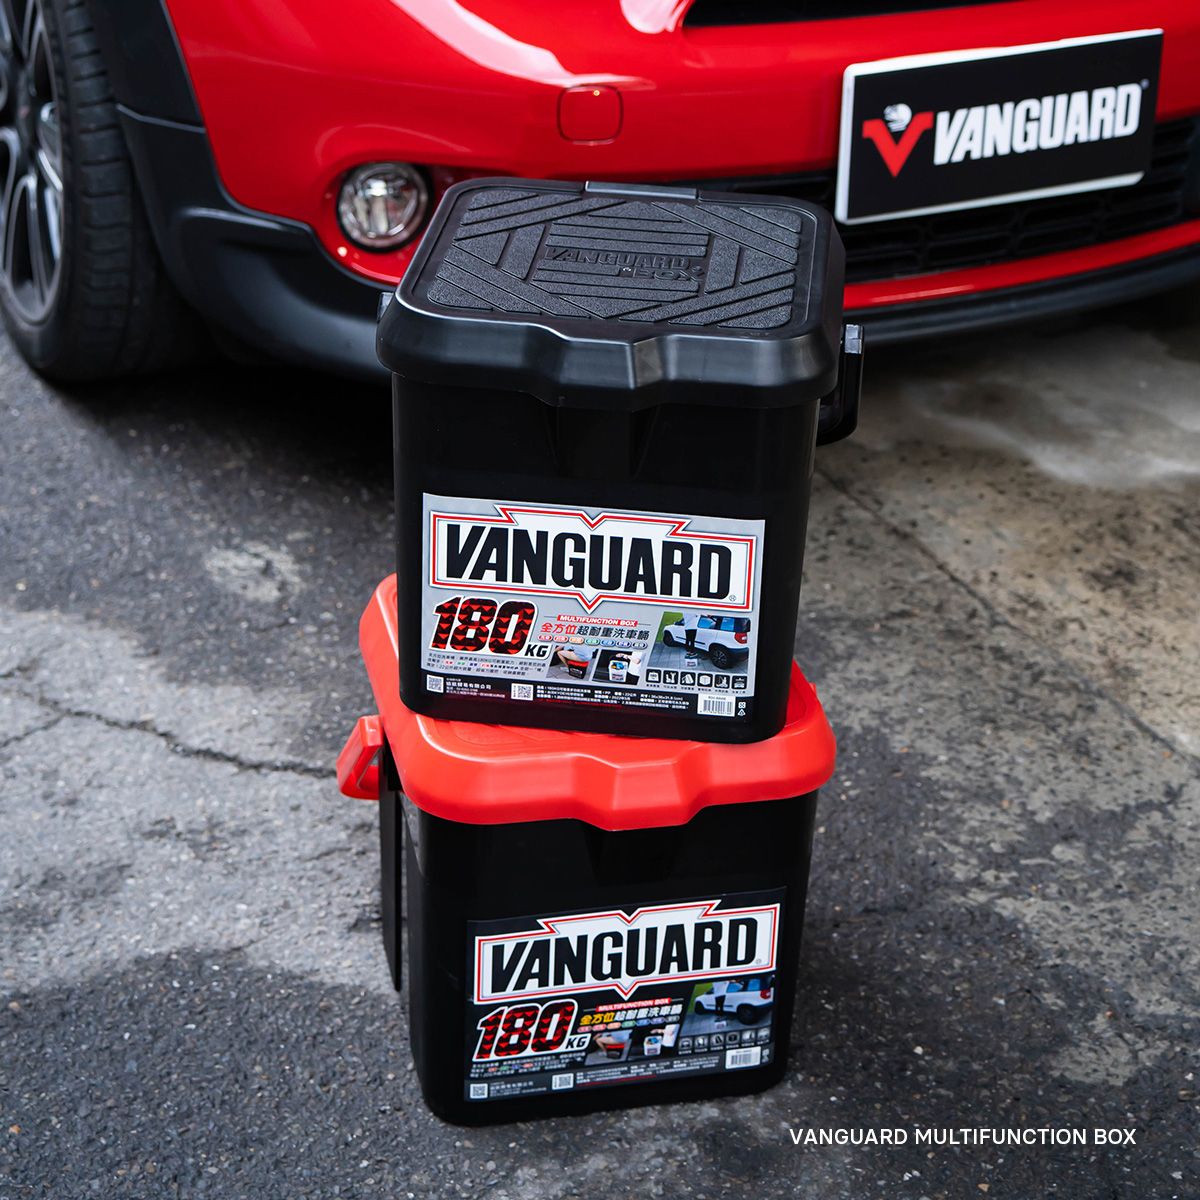
- Mix a diluted wax remover solution and pour it into the bucket.
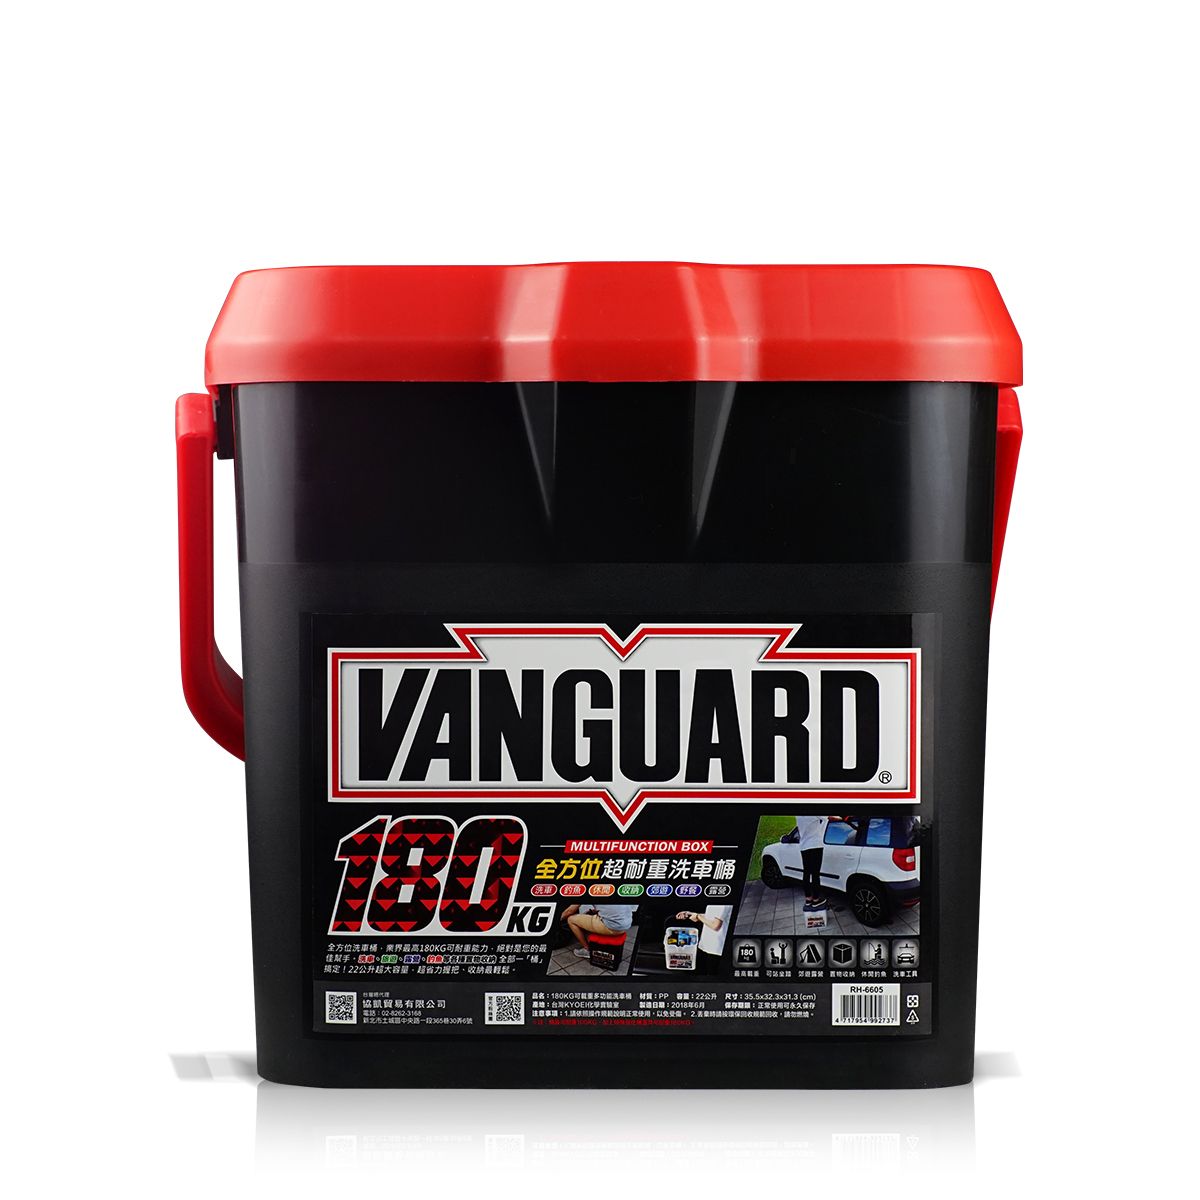
- Add the tools, making sure as many of them as possible are fully submerged.
- Leave them to soak for about an hour.
- Work each tool in the diluted solution by hand, kneading it as you go, then squeeze the liquid out so the tool is ready for the second stage.
- Rinse under running water while continuing to knead. This carries away the remaining grease and any leftover product.
- Repeat until everything rinses clean.
When should you reach for a wax remover?
Any time your tools feel greasy, stiff or never quite clean after a wash. It is also the product to reach for when wax has ended up somewhere it should not be. Cleaning the tools is the step most people skip, and it is the one that decides whether your next wax goes on a clean applicator or a contaminated one.